Shafts, Props, and Engine Alignment
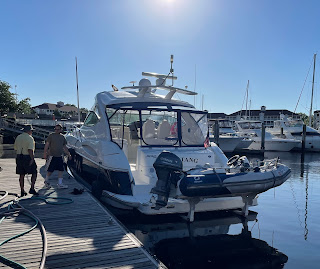
June / July 2021: So, once we got her home, I had a punch list of items to address before I felt I could really start to relax and enjoy the boat. The first items on the list were:
- Address a load imbalance on the engines
- Perform an engine and shaft alignment
- Have the props scanned and tuned
- Replace the cutlass bearings
In classic fashion, I pulled the boat a week after she was home, and started to work on it. I figured I'd give up a bit of the summer to address the issues and catch up on deferred maintenance, and that's exactly what happened. It all turned into a roughly 6 week project, but I don't like to take chances with running gear, and without knowing exactly when and how the previous owner had performed these tasks, I just wasn't comfortable running the boat until I had a baseline.
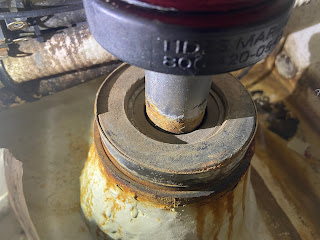
First up was the prop removal on both sides. The props on the 500 are large 4 blade 28" diameter by 42.5" pitch Nibral units from Volvo. A conventional prop puller that extends through the blades won't work on these props, since there is so much blade overlap. These have to be pulled from the threaded holes at the back of the hub. So, of course, I had to make a dedicated prop puller for the boat. This took a bit of time on both the lathe and my milling machine, but after using it a couple times, I can report it was time well spent:


These images were taken after I had used it, and unfortunately I left it outside one night when it rained, so it's got a few rust spots on it now. My apologies to those of you who always expect to see freshly machined parts! At any rate, once this puller is attached to the prop with the 3 long bolts, the user simply has to tighten the remaining 9 bolts in sequence, slowly building up tension on the prop until it breaks free. It's so easy - I'll never use another style puller again. I keep this puller on the boat at all times now, and it'll be sold with the boat someday, so the lucky buyer will have one less detail to worry about.
And sure enough, the props did need to be tweaked a bit to achieve Class S status. They weren't too bad, but now they're right on the money. Here's a couple shots from when they were completed:


That's about it for this one. I'll be adding more detail in the next few posts about shaft removal and alignment, new shaft seals, new cutlass bearings, trim tab cylinder rebuilding, etc.

Comments
Post a Comment